Why a Welcome Push is Important
Studies show that people are more likely to purchase from stores they already trust and have interacted with. A Welcome Push Notification, sent immediately after a user subscribes to your notifications, helps strengthen this relationship and increases the likelihood of future conversions.
Step-by-Step Tutorial
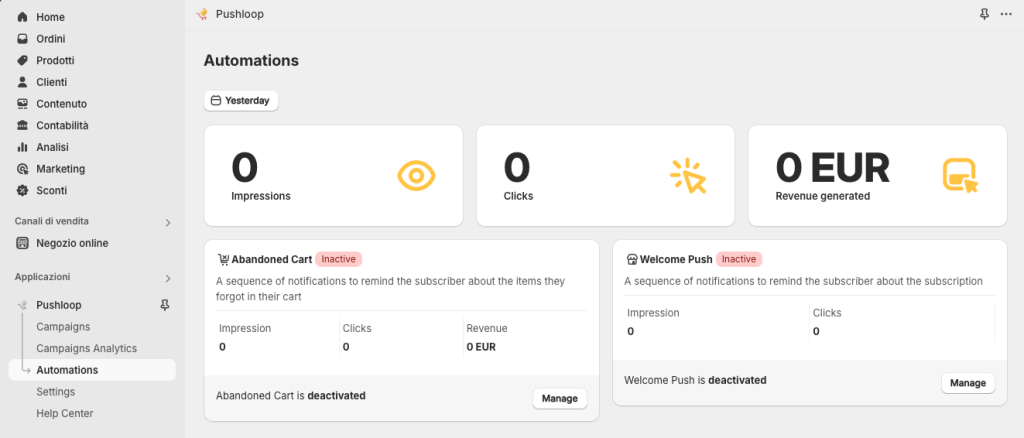
1. Go to the Automations Section
- In the Pushloop menu, navigate to Automations.
- Locate the Welcome Push box and click Manage to access its settings.
2. Enable the Welcome Push

- If this is your first time activating the automation, you’ll see a message:
“This automation has not yet been enabled, click the button below to unlock the feature.” - Click the Enable this Automation button to activate it.
3. Set Up the First Reminder
- Once the automation is enabled, you’ll be taken to the Manage Welcome Push page. Here, you can configure up to two reminders.
Activate Reminder 1
- Check the Active box to enable the first reminder.
- Select the delay (e.g., 5 minutes, 15 minutes, or more) to determine how long after subscription the push will be sent.
Edit Reminder Content
- Click Edit Reminder Content to customize the push notification.
- You’ll see fields similar to the New Campaign setup:
- Title: Add a welcoming title (e.g., “Welcome to our store!”).
- Message: Write a short, engaging message (e.g., “We’re excited to have you! Check out our products now!”).
- Target URL: Add the link to your store or a specific product page.
- Image URL: Add a link to an image that represents your brand or product.
- Check the real-time preview on the left side of the screen to see how the push will appear.
- Once satisfied, click Save Reminder Contents.

4. Optional: Set Up the Second Reminder
- If you want to send a follow-up push, repeat the steps for Reminder 2:
- Activate it by checking the Active box.
- Set a delay.
- Customize the content by clicking Edit Reminder Content.
5. Save Your Settings
- After setting up the reminders, click Save All Reminder Settings to apply the changes.
Additional Tips
- Start with one reminder to test its effectiveness before adding a second.
- Use engaging visuals and clear CTAs (Call-to-Action) to improve click-through rates.
- Monitor the performance in the Automations dashboard to refine your strategy.